Monday, December 8, 2014

Nautical Pen kit

Nautical pen kit from Penn state industry.
I used a teak wood blank from the battleship deck, USS  North Carolina. I bought the blank from woodcraft.

Friday, September 26, 2014

Probotix CNC X90 router , First Cut


Well last night , I finally made the first cut on the CNC that looked like anything.I have been trying for a couple of days. I just could not get the router to do what I wanted it to do.


The router would go when when I thought it should go down ,or I would try a 3" letter and it wanted to cut a 10" letter. I went to the forums and found that the settings file that came with the Planet CNC USB software had to be changed for the Probotix CNC. I want lucky and some one sent me the correct file, I uploaded the new settings and things got much better.

I had one more piece of the puzzle to work out.What post processor to use with the Vertric CUT2D software. There are no choices in the drop down menu for Probotix. Again back to the forums.

I found out that the EMC2 G64 arcs choice in the drop down menu works. This works for CUT2D, V CARVE PRO and ASPIRE programs from Vectic .


Armed with this, I made very simple letter word, (my name) in CUT2D and chose the EMC2 G64 ARCS post processor went to the shop. I changed the settings file, a simple import settings from the menu and I was ready.

The router did what I expected it to do. I still have a lot to learn about CUT2D software but I am well on the way now.I am trying to decide if I should stay with CUT2D or upgrade to V Carve Pro. CUT2D is the basic program with limited design tools. V Carve pros more advanced and can do a lot more design work. It also cost a lot more 4 times as much.


At this point I am happy with the Probotix cmc ,there customer service and where I am at in the process. i will keep you up dated as I progress.Oh I did find out the hold downs in the fiber board will not work. I will be looking for a new or improved method, I may simply order the extrude aluminum base board.

Monday, September 22, 2014

Country Hutch from Fine Woodworking Magazine

On the cover of Fine Woodworking Magazine for the October 2014 issue is a hand made country hutch.
We needed extra storage in our kitchen, so I thought I would build my version of the hutch.
I ordered there plans and cut list via the Fine Woodworking Web site. I made my changes and went to work.
I used pine just as they did in their build but instead of Cherry, I decided to use Walnut. I had a few pieces left over from a tree that was cut on my wife's old home place in south Alabama. It has a nice rich dark color.
My wife helped by doing the finish, we decided to finish with a warm white milk paint rather than leaving the pine natural.
This project took me two week ends of work but really turned out nice. Btw I did not do mine all by hand tools like the people at Fine woodworking. I did use pine, walnut and finished the back with plywood instead of slats like the one in the magazine. The plans were well drawn and easy to follow and along with the magazine instruction made this an easy build.

Saturday, September 20, 2014

Probotix cnc router mounting board and testing

Finished assemble, hooked it up to my old hp desktop.
Loaded the PBX USB software and activated it.
I was able to jog the machine and make sure all 3 axis moved smoothly. Then went to work on a way to mount work piece. Decided to use another mdf board and insert tracks and use incra hold downs. The hold downs are available at woodcraft. I will try this, if it becomes an issue, I will try something else. I am now ready to try my first piece.

Probotix X90 finish build

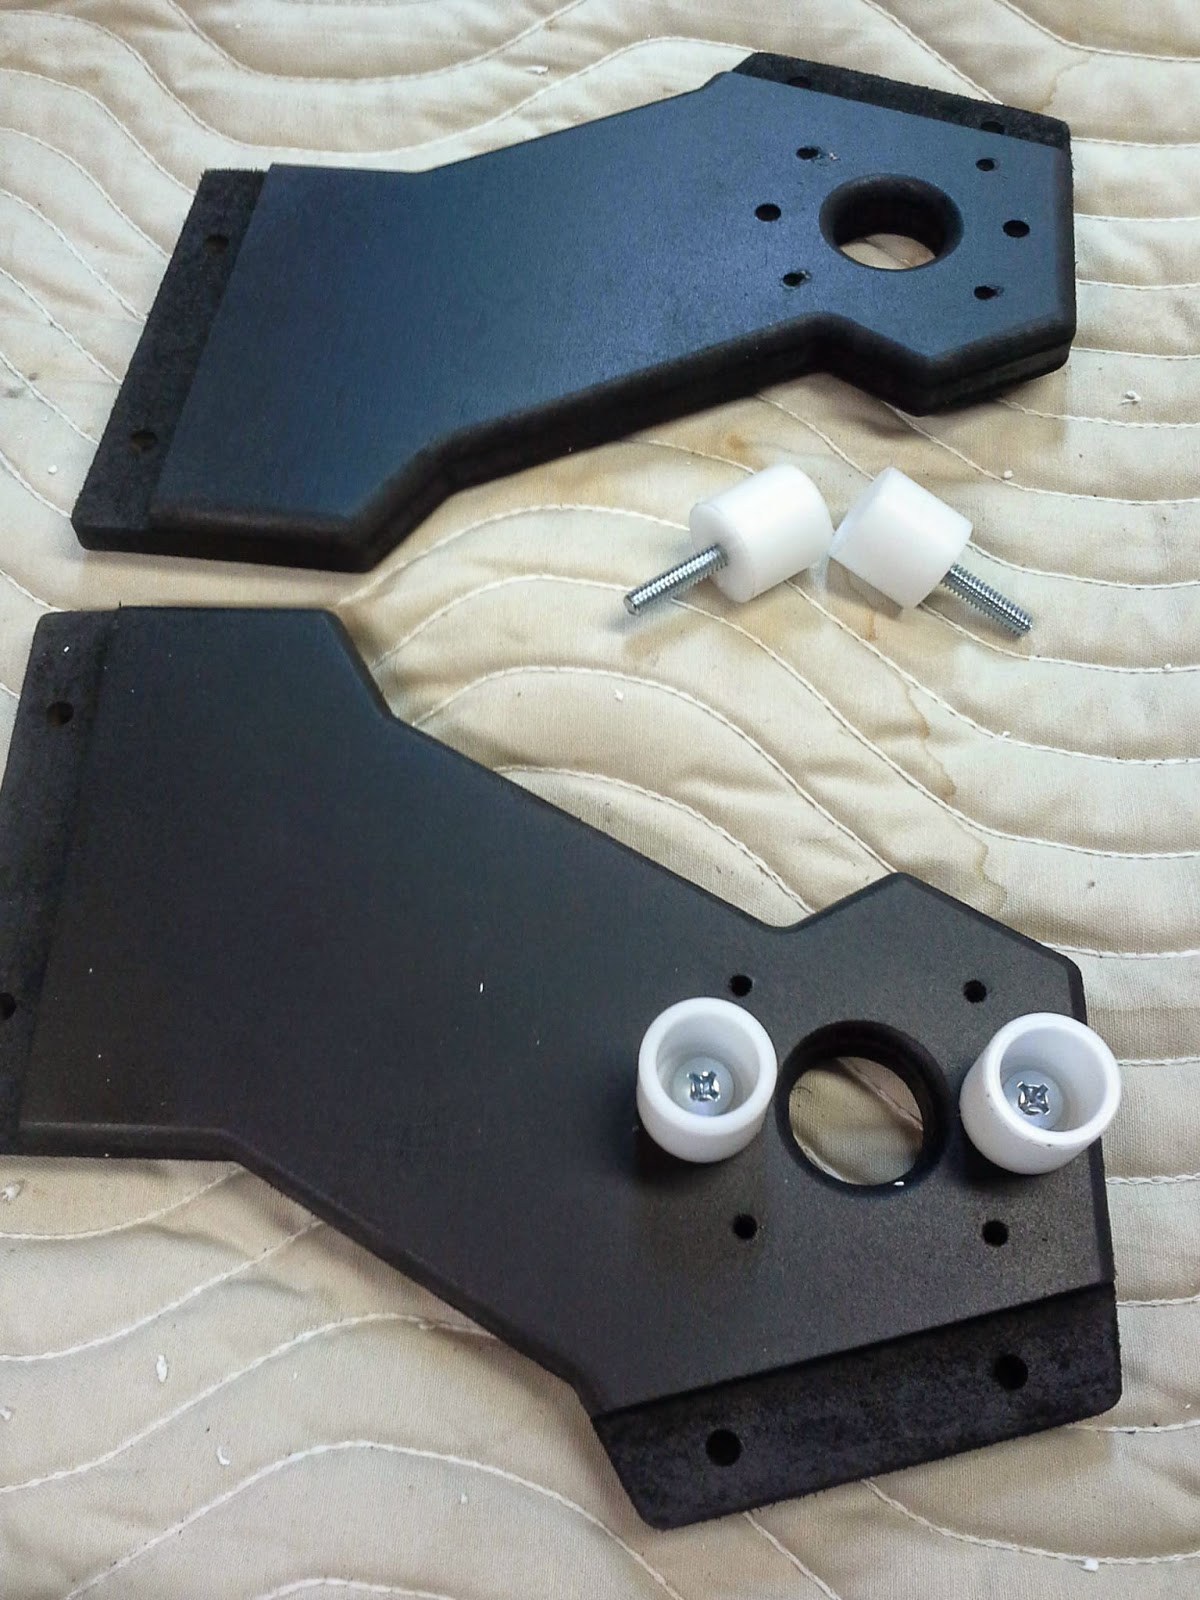
These are the last pictures from the build process. Shows mounting motors anfd finish assemble.

Probotix X90 build day 2

The correct parts came in, the remaining build went very fast. All parts went together snugly.  Very easy to square up up since parts were machined well.
See pics below
Wednesday, September 17, 2014

Probotix x90 build 1st day

Although some of the parts were the wrong size, I went ahead and started the build.
1st thing was to insert rod bushings in base.
Then apply nuts to back side of bushing.
Then threads rods and pvc pipe are put into place.
Along with the main rods.
Slides are placed on rods see pic.
Then other base is attached.
Square up base and tighten bolts.
This completes the part I can complete today.
I called probotix and the new parts were sent same day.
I will start on them once I get the new parts.
So far all parts seem to fit well and appear to be quality parts.